
-
If you see a teen or adult suddenly collapse, hands-only CPR is the recommended form of cardiopulmonary resuscitation (CPR). It not only increases the likelihood of surviving breathing and cardiac emergencies that occur outside of medical settings, but it’s simple to learn and easy to remember. For a refresher any time, you can print up this page and keep it with the rest of your first-aid supplie
1Check the scene and the person. Check to make sure the scene is safe, tap the person on the shoulder to see if they’re OK, and look for signs of rhythmic, normal breathing.
2Call 112 for assistance. If there’s no response from the victim when asked if he or she is OK, call 112, or ask a bystander to call for help.
3Begin compressions. If the person is unresponsive, perform hands-only CPR.
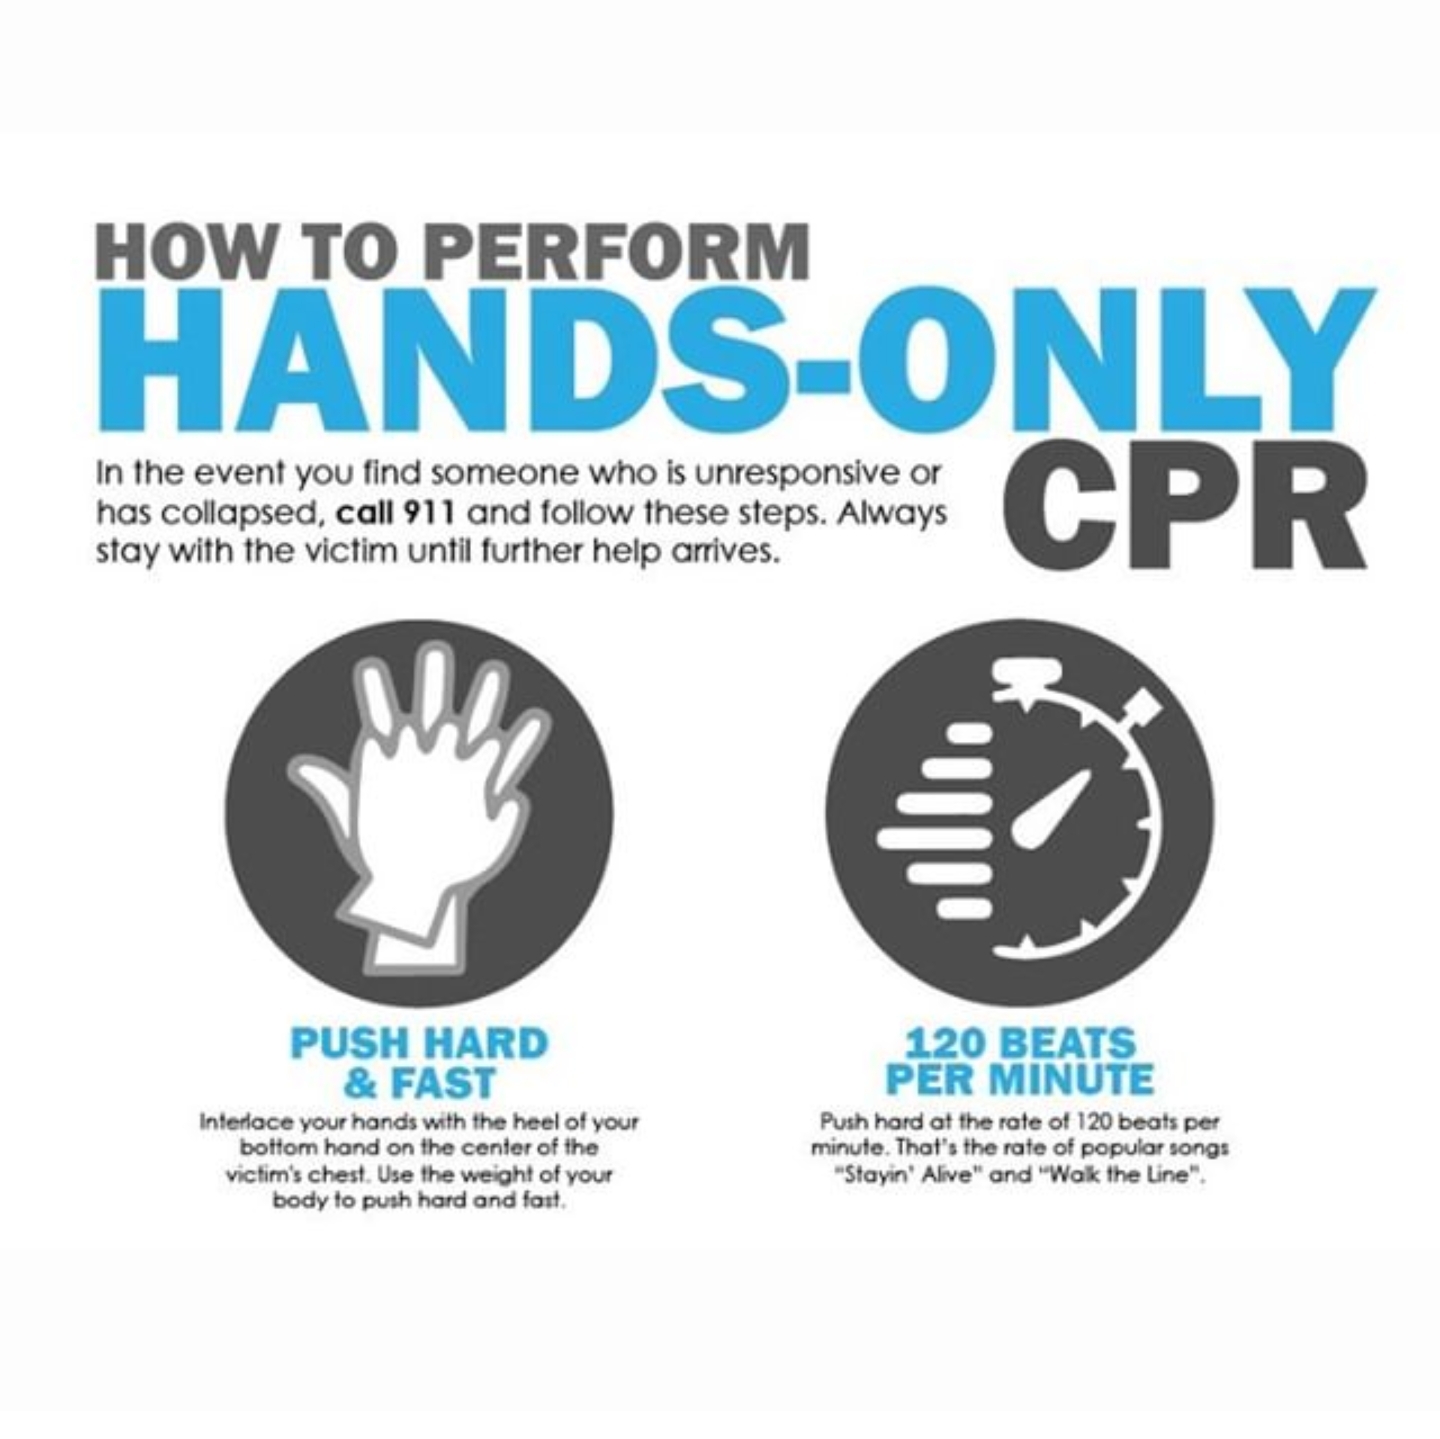
How to Perform Hands-Only CPR
1Kneel beside the person who needs help.
2Place the heel of one hand on the center of the chest.
3Place the heel of the other hand on top of the first hand, then lace your fingers together.
4Position your body so that your shoulders are directly over your hands, and keep your arms straight.
5Push hard, push fast. Use your body weight to help you administer compressions that are at least 2 inches deep and delivered at a rate of at least 100 compressions per minute. (Just be sure to let chest rise completely between compressions.)
6Keep pushing. Continue hands-only CPR until you see obvious signs of life, like breathing, another trained responder or EMS professional can take over, you’re too exhausted to continue, an AED becomes available, or the scene becomes unsafe.
To see how to perform hands-only CPR, watch our video.